10 Tips to Start Your ‘Meet the Artist’ Post
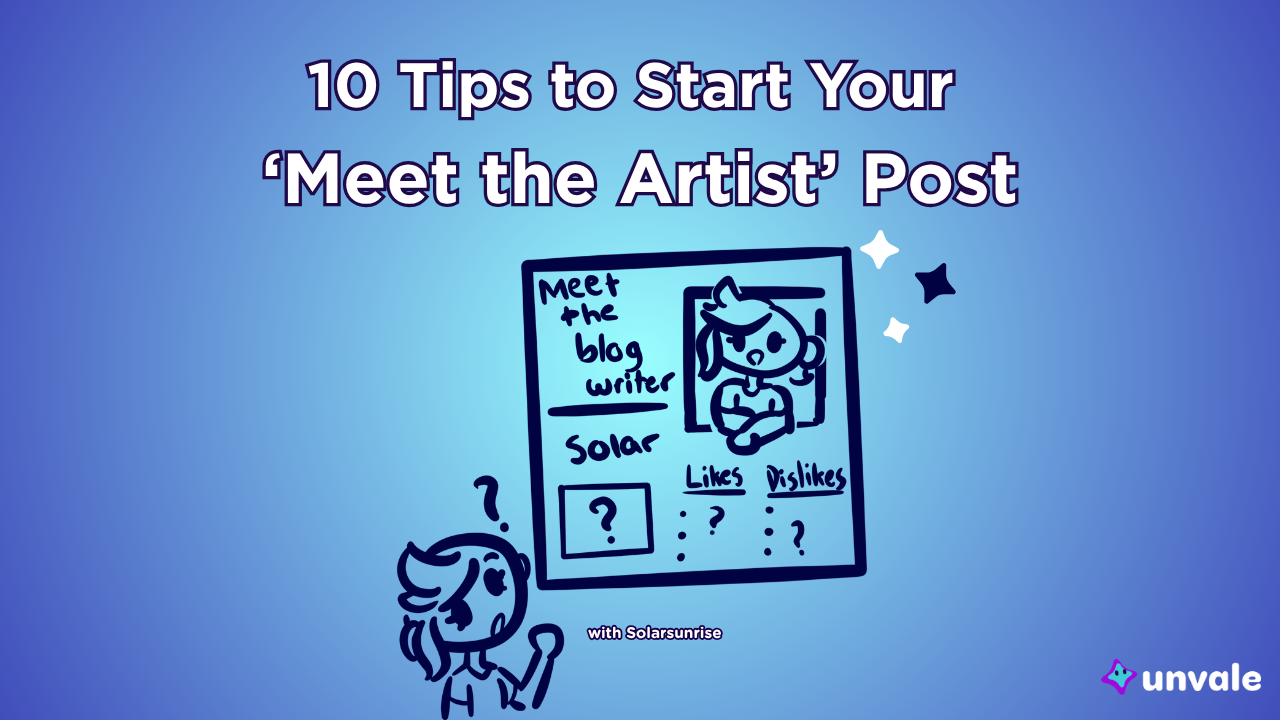
A ‘meet the artist’ post or image is a common and fun way for artists to introduce themselves while showing off their creativity. Here are ten tips to get started and to make the best and easiest to read post!
Tip Number 1 : Prioritize Safety and Privacy
It might be counter intuitive, but the first step to making a ‘meet the artist’ post is to consider what information you don’t want to share with other users. The internet is forever, and there’s always a chance that people you don’t want to share your personal information with might see your post, whether it be strangers, family, or school friends. Before considering what you do want to share, make sure your safety comes first.
Tip Number 2 : Finalize a Layout First
Before you start adding information, decide how you want the layout to look. Do you want a square shaped image that fits perfectly as an Unvale thumbnail? Or do you want a rectangular canvas? Do you want it to be text only, or with art on one half of the canvas? Maybe you want multiple pages to really get into introducing yourself. Try dividing up your canvas into parts before you add text, marking down what you want where.
Tip Number 3 : Highlight Important Information
Design your sheet in a way that draws the eye to what you want people to start with. Putting the most important information in the top left or right corner is generally the best idea, and usually the most important place to start is: your name. If your username is different from your preferred online nickname, make sure you make your preferred name extra visible.

Tip Number 4 : Keep Similar Info Together
For instance, your preferred pronouns are best placed near your name, while something like your likes and dislikes should be organized in a list. It can be confusing for the reader if information is too scattered around the page. Pride flags can be neatly organized into a line, or maybe placed around your name like stickers! As long as similar information is nearby, anything goes.
Tip Number 5 : Keep Info Neat and Readable
If you know you have messy handwriting, or you have too much information to add so you make all the text tiny, that can be hard for people to read. If your program has the ability to add typed out text, take advantage of that to make sure you can get across everything you want to your readers. Some Unvale users use translation or text to speech apps to help read, so creating an extra text document in the writing section with all the information on your page will be a big hit with those users!
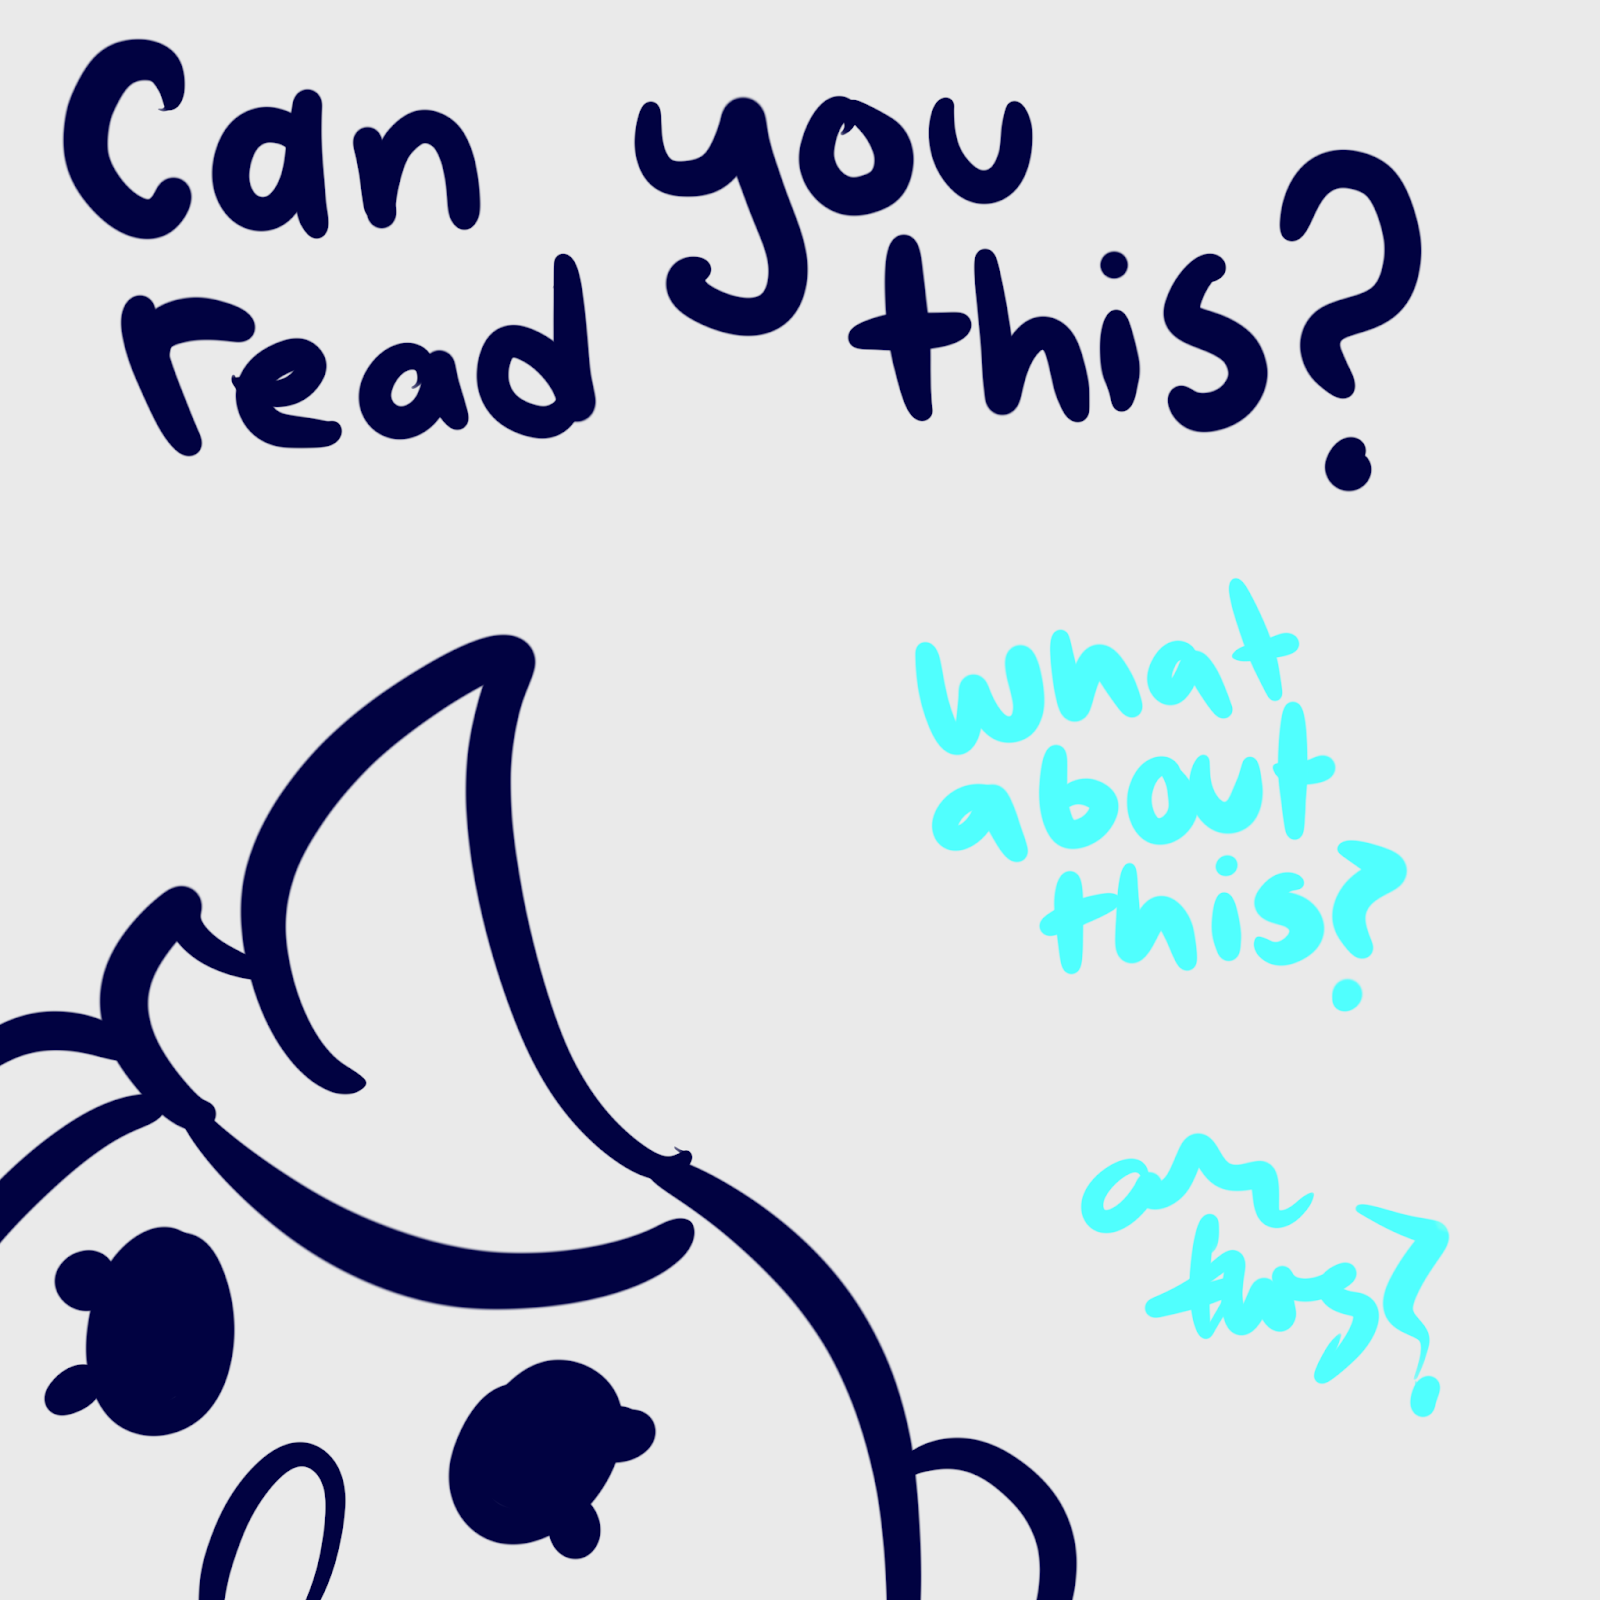
Tip Number 6 : Pick Colours Carefully
Like the above tip, be careful when picking out colours for text. One of the most difficult experiences I’ve had reading a document was cyan text on a white background, which was basically illegible. So, as a general rule of thumb; keep dark text on light backgrounds, and light text on dark backgrounds. Picking colours that aren’t too similar and don’t clash directly also majorly benefits the reader experience.
To try out some new palettes, I’d suggest the site Coolors! Its basic functions are free to use.
Tip Number 7 : Pick a Fun Theme!
Finally, we’re out of the boring tips. Thanks for sticking with it! It’s important to pick a theme for your meet the artist post. Whether it be a specific palette, themed around your sona, beach or autumn themed, anything goes as long as it all matches in a visually appealing and fun way! This is a great chance to show off your personality through what you decide to add.
Here are some suggestions for themes:
- Ocean themed 🌊
- Forest themed 🌲
- Candy themed 🍭
- Space themed 🌌
- Favourite OC themed ⭐
- Horror themed 👻
Tip Number 8 : Add Music to Your Page
You may or may not be aware of the ability to add music to Unvale pages! Well, make sure to remember to add your favourite song or a song that represents you well to your post when you upload to Unvale. If you’re not sure how to do it, follow the link here!
Tip Number 9 : Use the Traits Section on Unvale
For extra fun facts about you, use the traits section. Sure, not everything there in the templates can apply to us in real life, but it can be a handy way to figure out what you want to add to your meet the artist, or add extra information you couldn’t fit onto a single page.
Number 10 : Add Links to Showcase Friends and Favourite Creators!
Show off your favourite OCs or artists (or maybe even your favourite blog post writers) on the site with clickable links! You can create a hyperlink on text if you follow the instructions in the link I just… linked. I also recommend linking to your favourite art pieces on Unvale, or maybe your sona’s page or a world you’re proud of.

Remember, don’t compare your own work to others to the point of feeling down, but it’s great to look at other user’s own ‘meet the artist’ posts for inspiration! Check out #MeetTheArtist on Unvale to get some inspiration and meet some new and cool artists~!
Hmm, looking at it now myself… here are a few cool and creative posts I saw!
Let’s meet ellielikestomakeOCs, who caught my eye with an info packed first page and simple but eye catching second, doll themed page; mossydruid, showing off their cat- I mean, their gorgeous art of their sona in the left hand side of the page; and last but not least, bunnymagika, showing off their OCs with a bubbly and adorable page that really suits their adorable sona!
When you make your meet the artist post, make sure to use the hashtag so other artists can meet you, and you can share your own unique personality and art!
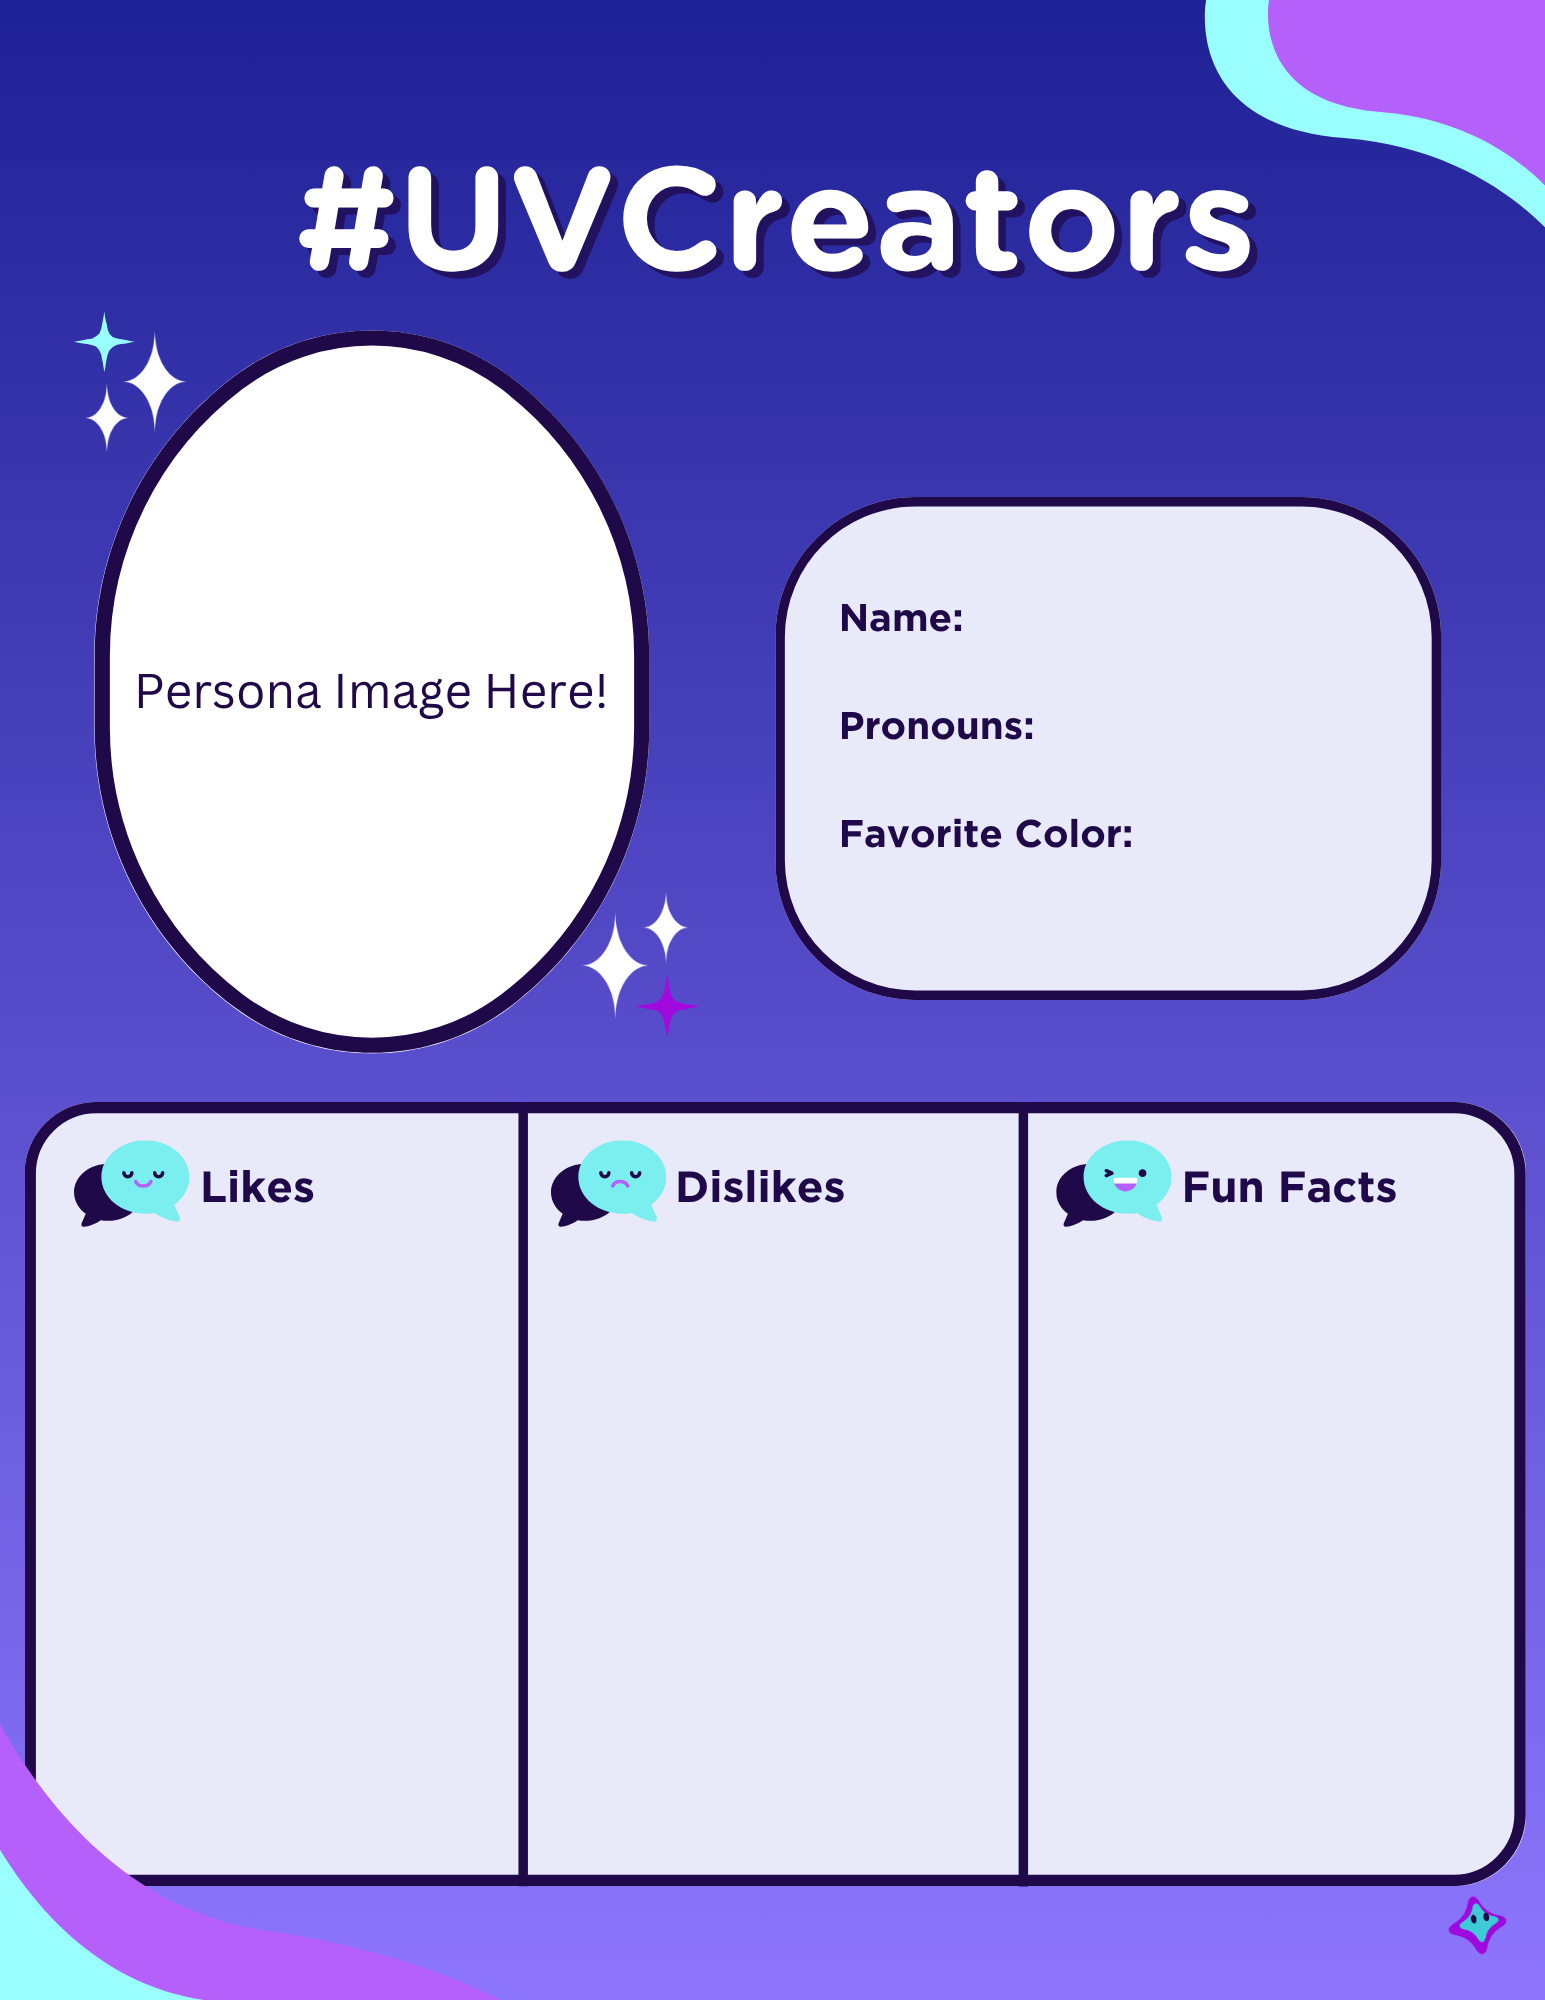
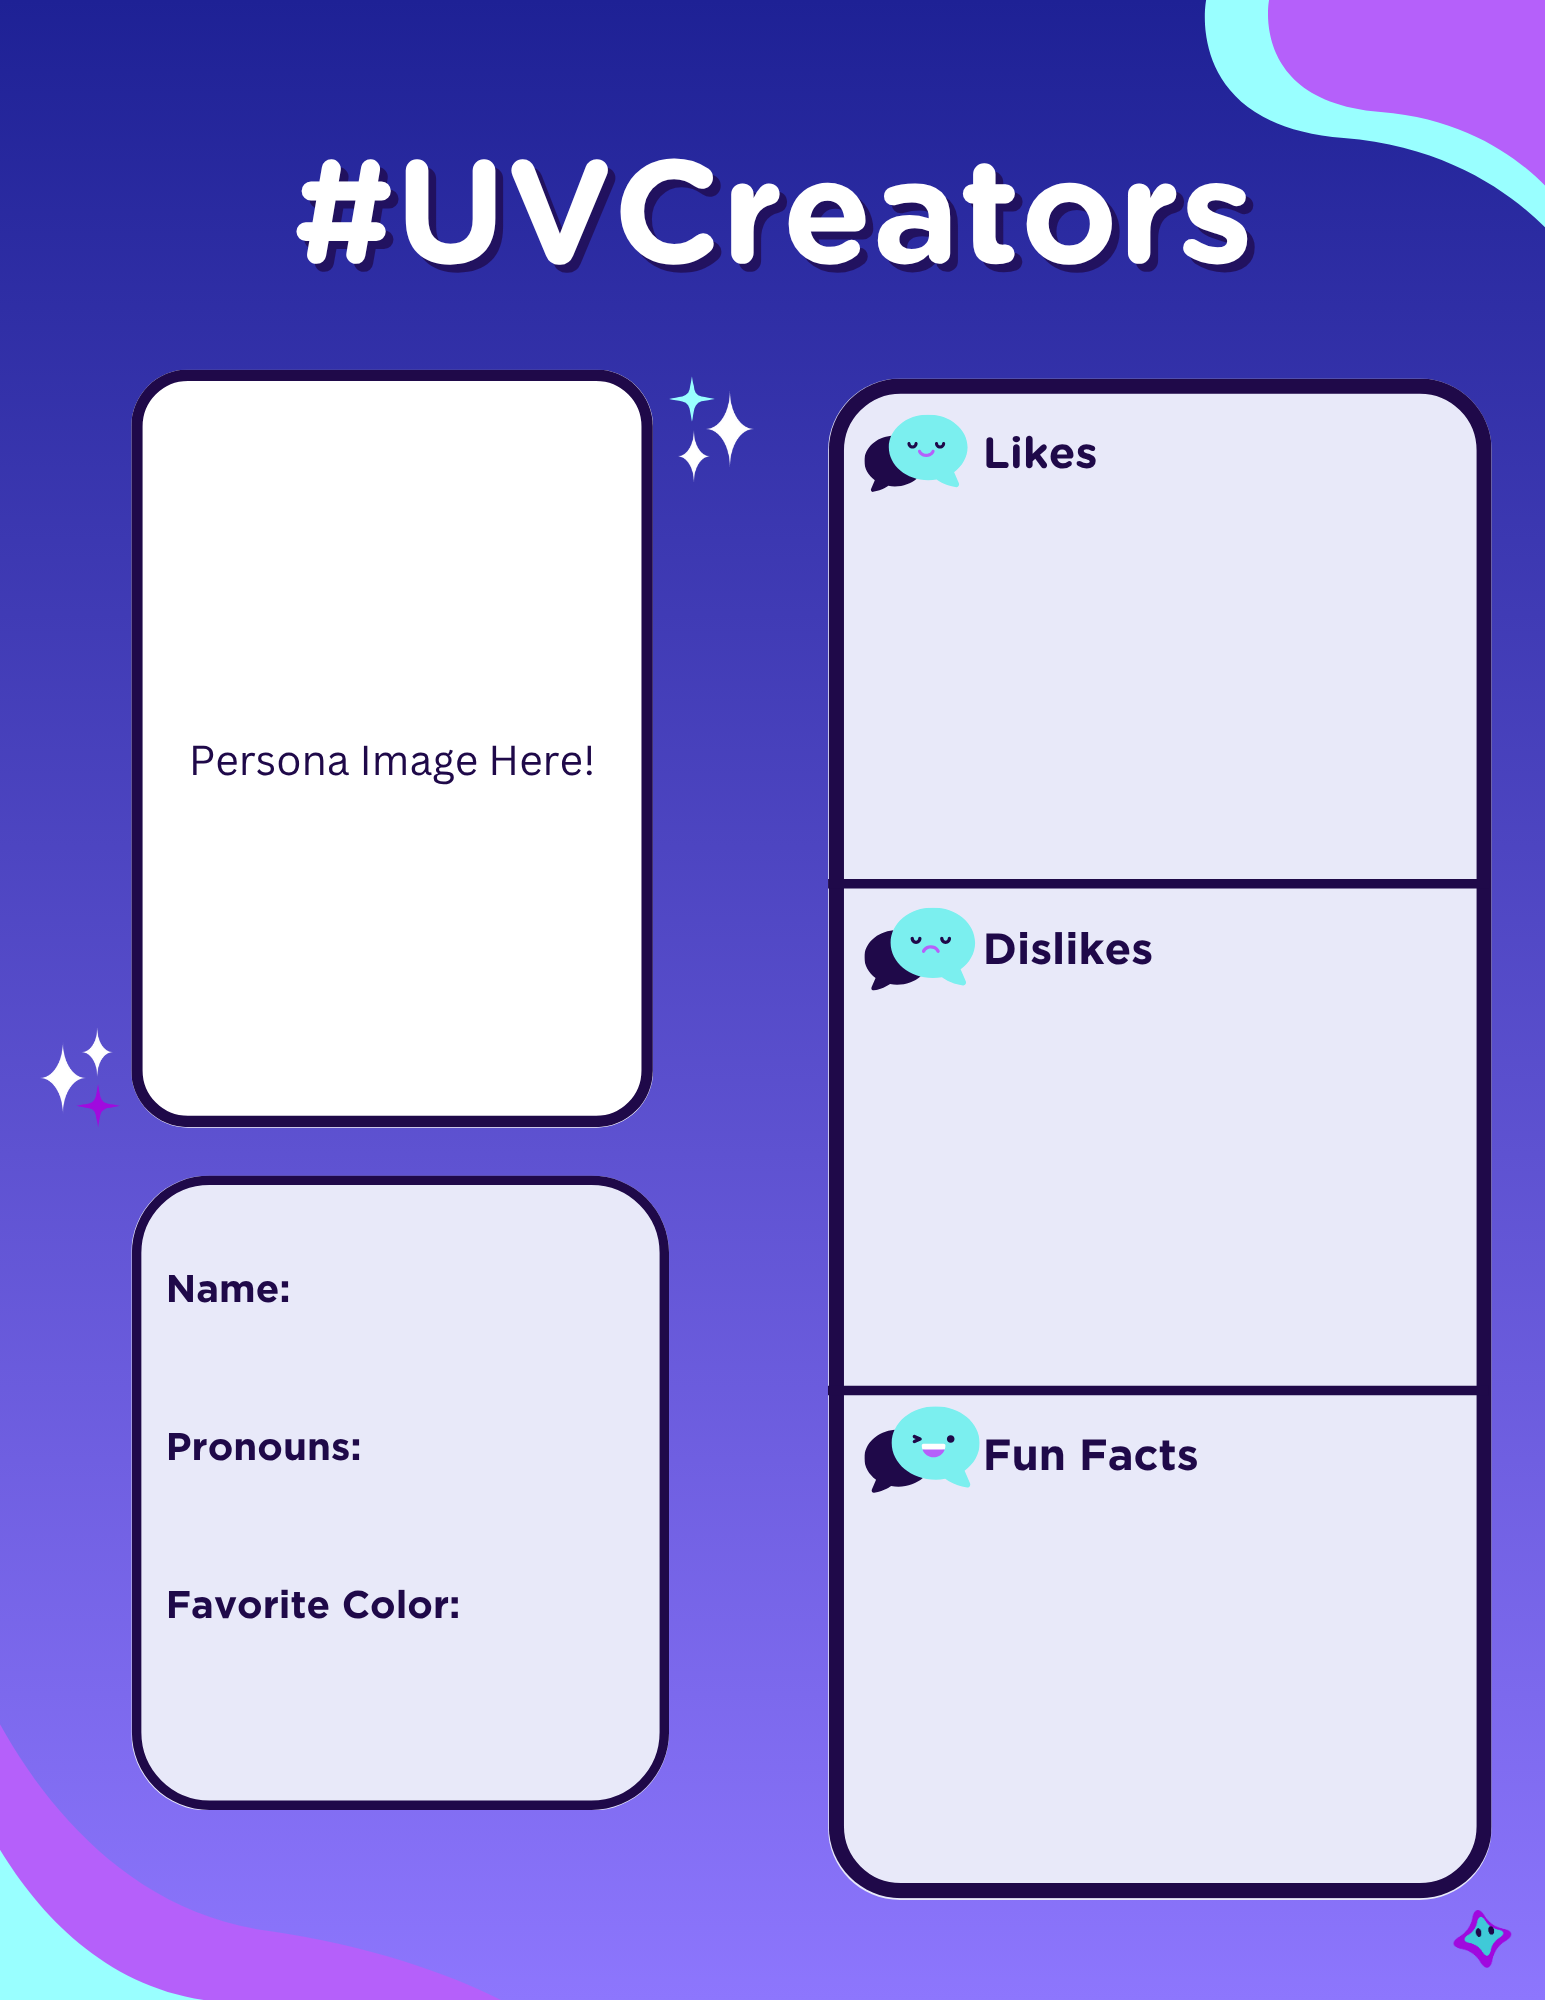
Unvale's Meet the Artist Template!
Want an easy way to make your own Meet the Artist? Try using one of our free templates below!
How to use:
- Download the template of your choice by saving the image to your device. Once you do so, fill the template however you'd like! You can change wording, move things around, or keep it as is using your go-to editing software. Once you’ve done that, save the image and upload on Unvale!