Learning Line Art - How to Improve your Line Art Skills
Let's get better at creating line art for our artwork with some tips and tutorials! By practicing these lessons, you can learn to easily create impactful line art in either medium, be it traditional or digital.
Let's get better at creating line art for our artwork! These tips and tutorials will help you improve your line art skills as you continue pursuing your artistic journey. By practicing these tips, you can learn to easily create impactful line art in either medium, be it traditional or digital.
Knowing Your Medium
Deciding which medium you would like to create your linework in is the first step. Traditional line art varies greatly depending on the materials you choose, while digital works vary depending on software and hardware. Research the best materials to use depending on the kind of art you want to make.
Digital Line Art
When lining digital art, it is important to find a work-flow that aligns with how you like to draw things. It can be extremely helpful to look for tips on the specific programs you use and find tutorials from artists you admire that use the same programs.
For Clip Studio Paint users, you can access a ton of awesome tutorials on their official website including many resources with unique tips for creating line art in their program. Many of the tips in these tutorials can apply to free painting programs as well.
For example, this video and corresponding tutorial demonstrate how easy it is to adjust line art when you use the Vector Layer function.
Custom brushes and brush settings are another easy way to improve your line art, especially for users of Apple's Procreate.
No matter what program you use, you can usually find a Stabilization Tool to automatically stabilize your brushstrokes. You can then find and download a custom brush to use with these settings, like this one from the artist Nicole
If you’ve been looking for a new textured brush to use in Procreate, my custom thick pencil brush is still available for download! 💖 Use for textured line art and coloring alike! 🔗 below! pic.twitter.com/MJAckTZ56P
— Nicole 🌱 (@fossilforager) December 4, 2021
Traditional Line Art
For traditional works, you can use anything from a ball-point pen to a calligraphy brush. Many artists tend to either use a fine liner pen or ink and a pen nib when doing linework, although you can easily experiment and use whatever method you like the most.
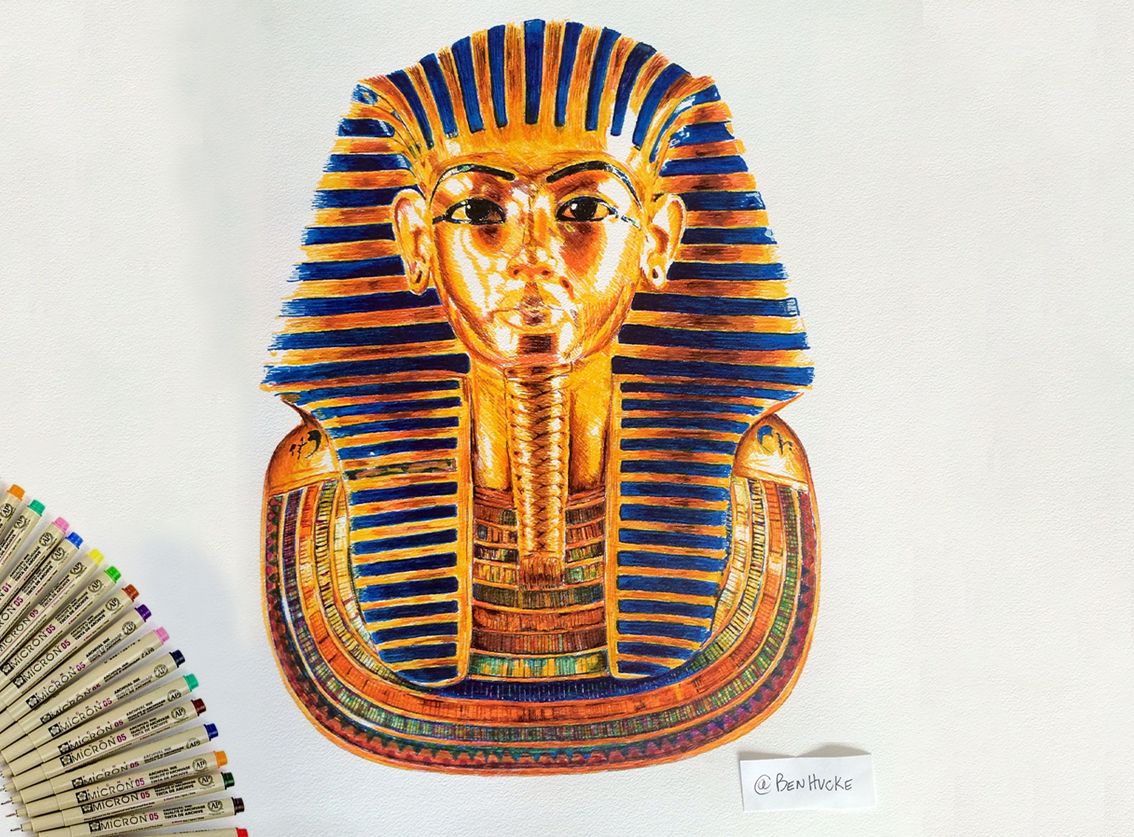
Fine Liner Pen: Many artists like to use dedicated liner pens for line art, like the popular Pigma Sakura Micron Pens. Manga artists like to use these pens to line their works, and the ink is archival quality so the pens can even be used to sign legal documents. This stationary reviewer, Inky Memo, has created a YouTube video testing out the Microns and heavily recommends them as a must have.
The Pigma Microns have rightly earned the reputation of being one of the best art, doodling & lettering fineliners in the world. Available in waterproof ink in various tip sizes and colours - the Pigma Micron is a must-have #stationery object in your collection. 2/2 #sakurapens pic.twitter.com/VVPXOvVFFS
— Minjal Kadakia (@MinjalKadakia) October 5, 2022
Ink and Pen Nib: The pointed tip of an ink pen is called a 'nib' and it is what distributes the ink across paper. There are many different shapes of nibs you can use in tandem with a pot of ink, and even some pens that come with a nib and ink cartridge built-in to one unit. Many manga artists like to use a standard G Pen Nib with Deleter Ink. The wonderful artist Megan Usoi showcases the differences of some popular Pen Nib sizes in the awesome tweet below for easy reference:
I was testing out the new nibs from Japan I got today. : D Nikko and Zebra are my favourite brands. What is your favourite nib for drawing comics? :3#nib #ink #pen #drawing #comic #manga #日光 #ゼブラ pic.twitter.com/an5Sw5SI1r
— メガン・ヲシュ (@MeganUosiu) November 6, 2018
You can also easily use tools like color pencils to add a softening effect or to compliment watercolor illustrations.
Techniques to Study for Further Improvement
Vary Your Line Weight: 'Line weight' refers to the thickness of lines in the line art. By varying the weight of your lines in specific spots you can add visual interest to your artwork. This is helpful for a variety of reasons, including adding an extra sense of movement or emotion.
It is best to use heavy lines on places where you want a lot of emphasis, like the outline of the drawing or parts of the face, and smaller lines for minor details.
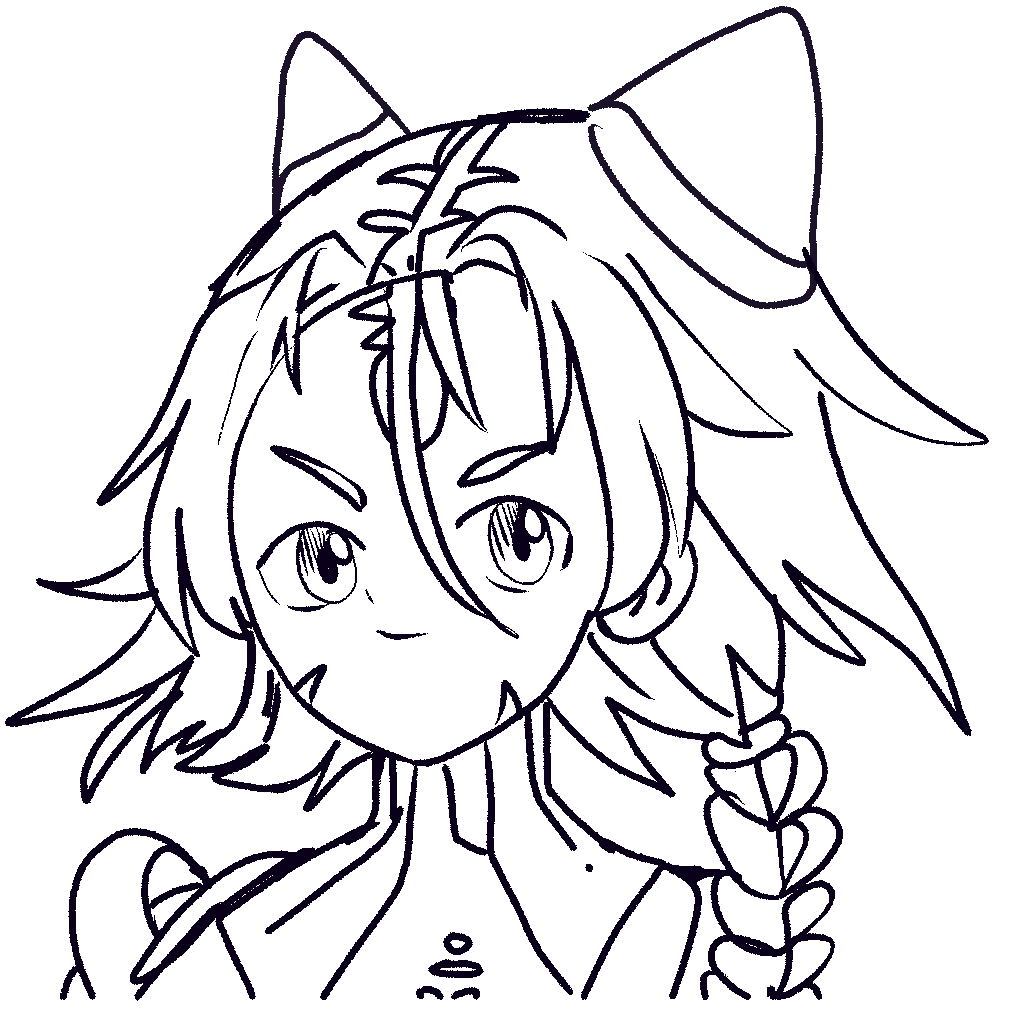
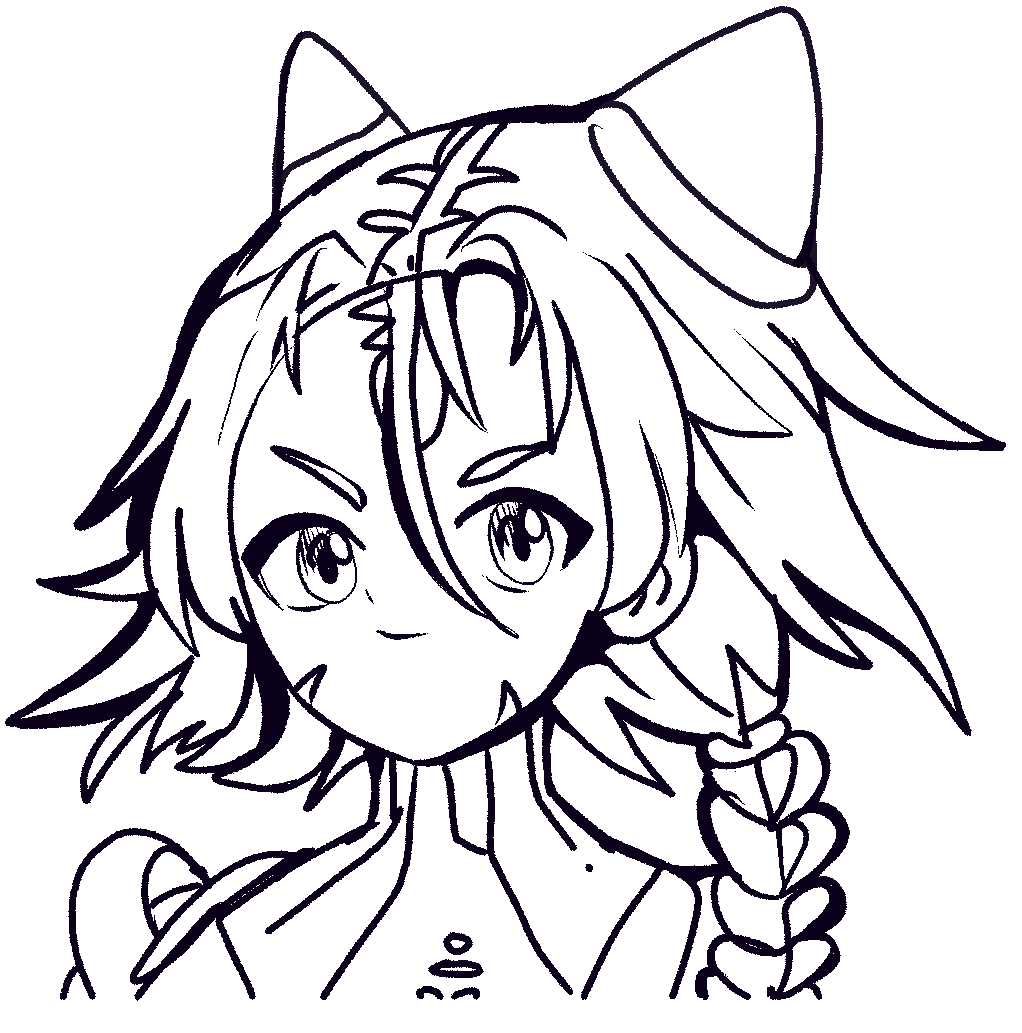
Here's an example that I created to illustrate line weight. This line variation can be done manually like I did, or with the help of built-in tools from an art program!
Make Things Pop with Negative Space: Using negative space correctly can help your line art really stand out. This means using large sections of a dark color to contrast with a lighter color and create special effects. You can purposely obscure details with this technique and in doing so provide a greater emphasis to the focal points of the image.
Worked on an abstract today. Im having to work with negative space again. I’m trying manipulate the composition without an abundance of colours to help block things in. pic.twitter.com/SuH9WAvTII
— Maccphil 🥞😺🐰 🍄 🌳 🌟 🇨🇦 🇮🇪 (@Maccphil_) October 1, 2022
Include Softer Colors in Your Line Art: Many artists use other tools like color pencils to create softer line art in different colors. This can be especially helpful for watercolor illustrations. In digital art, artists can replicate the feeling of these traditional works with certain brushes or add softness by changing the color of their lines. Using softer lines in your illustrations can create a variety of effects, from the eerie feeling of a forbidden forest to the joyful feeling of a warmly-lit café scene.
Interesting challenge! Same character, different styles #4styles #fourstyles
— 🐱P.m VonApple🐱 (@PetiteMadame) September 11, 2019
1) Traditional (markers + color pencils)
2) Digital (black line art)
3) Digital (CG painting, no line art)
4 ) Traditional (watercolor + color pencils) pic.twitter.com/wjU6I7Kt0X
This artist does a wonderful job of highlighting the variations in different line art techniques! They show in the bottom-right image how watercolor and color pencils can be used to add a warm and intimate feeling to your art.
Practice Makes Perfect
Be sure to keep practicing often, and before you know it you will be able to create smooth line art with ease! There are some helpful things you can do to easily practice what we have learned, including:
- Set a timer for a quick session and practice drawing some pictures using only simple lines. This can be traditional ink or a digital pen. Draw freely and focus on creating smooth lines that convey a clear idea very quickly.
- Look at references and find inspiration for the line art you want to make. Practice by trying to imitate these styles with your own techniques. Be sure to credit the artist if you decide to post your inspiration!
- Participate in daily or weekly art challenges like the popular Inktober with simple line art focused illustrations. This can be a great way to build up muscle memory.
If you believe in supporting small teams with an authentic message and want to support our content, consider creating a profile over at UnVale and checking out our Discord server!